You've been looking at permanent outdoor lighting for a while now. You've read the cost breakdowns, you've browsed photos, and you're pretty sure this is the right move for your home. But there's one question that keeps coming up: "What are they actually going to do to my house?"
It's a completely fair question. Most Sacramento homeowners have never had something like this installed before. It's not like getting a new furnace or replacing a water heater, where you have some general idea of what the process looks like. Permanent outdoor lighting is unfamiliar territory for most people, and the unknown creates anxiety.
So let's walk through the entire process, start to finish. Every step, every detail, exactly what happens and when. By the end of this guide, you'll know precisely what to expect if you decide to move forward, and there won't be any surprises along the way.
Step 1 – The Free Consultation and Property Assessment
Everything starts with a phone call or a quote request through our website. We'll schedule a time that works for you, and one of our lighting specialists will come out to your home. This is a no-cost, no-obligation visit. Nobody is going to pressure you into signing anything on the spot.
During the consultation, here's what actually happens:
- Roofline measurement: We walk the perimeter of your home and measure every section of roofline, soffit, and fascia that could potentially receive lighting. We note the linear footage, the number of peaks and valleys, and any architectural features that affect the layout.
- Goal discussion: We ask you what you're looking for. Do you want full-perimeter lighting or just the front-facing roofline? Are you mainly interested in holiday color displays, or do you want warm white accent lighting year-round? Are there specific features of your home you want to highlight, like a stone facade, columns, or a dramatic entryway?
- Mounting point identification: We examine the fascia board, soffit, and trim to determine the best mounting surface for your home. Most Sacramento homes have wood fascia or stucco, and we note which attachment method will work best for your specific construction.
- Electrical access check: We locate your existing outdoor outlets and electrical panel to plan where the transformer/controller will be installed. In most cases, we can use an existing outdoor outlet. If your home doesn't have one in a convenient location, we'll discuss options.
- Color and feature walkthrough: We'll show you what the system can do. Millions of colors, scheduling capabilities, app control, preset holiday themes, and custom scenes. This is usually the part where homeowners start getting excited instead of anxious.
The whole consultation takes about 30 to 45 minutes. Some homeowners want to walk every inch of the house with us; others just want the key details. We work at your pace. Before we leave, you'll have a clear idea of what the project would look like, and we'll have everything we need to create your custom proposal.
Step 2 – Custom Design and Proposal
After the on-site assessment, we go back to the office and put your custom lighting plan together. This isn't a generic template we slap your address on. It's a plan designed specifically for your home's roofline, architecture, and your stated goals.
Your proposal includes:
- Total linear footage: The exact measurement of lighting track your system will require.
- Recommended zones: We'll suggest how to divide your lighting into controllable zones. A typical residential system has 1 to 3 zones. For example, the front roofline might be one zone, the garage and side entry another, and accent sections a third. Zones let you run different colors or brightness levels on different parts of your home simultaneously.
- Color capabilities review: A summary of what the system can do, including RGBW (red, green, blue, white) mixing, warm white and cool white settings, preset holiday themes, and app features.
- Exact pricing with no hidden fees: The number on your proposal is the number you pay. Materials, labor, controller, app setup, cleanup, warranty – everything is included. There are no surprise charges on installation day. No "oh, we found something unexpected, that'll be another $500." The price is the price.
We typically deliver your proposal within 2 to 3 business days of the consultation. You can review it at your own pace, ask questions, request adjustments (maybe you want to add the back patio section, or you decide to skip one side of the house to bring the cost down). There is no expiration date and no high-pressure deadline. When you're ready to move forward, just let us know and we'll get you on the schedule.
Step 3 – Installation Day
This is the main event, and it's the part most homeowners are most curious (and most nervous) about. Here's how the day unfolds.
What to Expect That Morning
Our crew arrives at the scheduled time, typically in the morning to maximize daylight working hours. They'll introduce themselves, review the installation plan with you briefly, and walk the property to confirm the layout. Then they set up their equipment: ladders, safety gear, and tools. If you have landscaping, patio furniture, or anything near the work area, the crew will move carefully around it. We treat your property the way we'd treat our own.
You don't need to do anything special to prepare. We don't need access inside your home (unless your electrical panel is in the garage, in which case we'll need the garage open). You don't need to move your cars unless they're parked directly beneath a section of roofline we're working on. Most homeowners go about their normal day while we work.
How the Lights Are Mounted
The lighting system uses a professional-grade aluminum track (also called a channel) that mounts directly to your fascia board or soffit. Think of it as a slim, low-profile rail that holds the individual LED modules in place.
Here's how the mounting works:
- The aluminum channel is cut to match each section of your roofline. Corners, peaks, and valleys are mitered for a clean, custom fit.
- The channel attaches to your fascia board using screws. The screws go into the fascia – not into your roof decking, not into your shingles, and not into your gutters. This is important: the mounting does not penetrate your roof in any way.
- Once the channel is secured, the LED light modules snap into place inside the track. They sit flush, creating a clean line of light along your roofline.
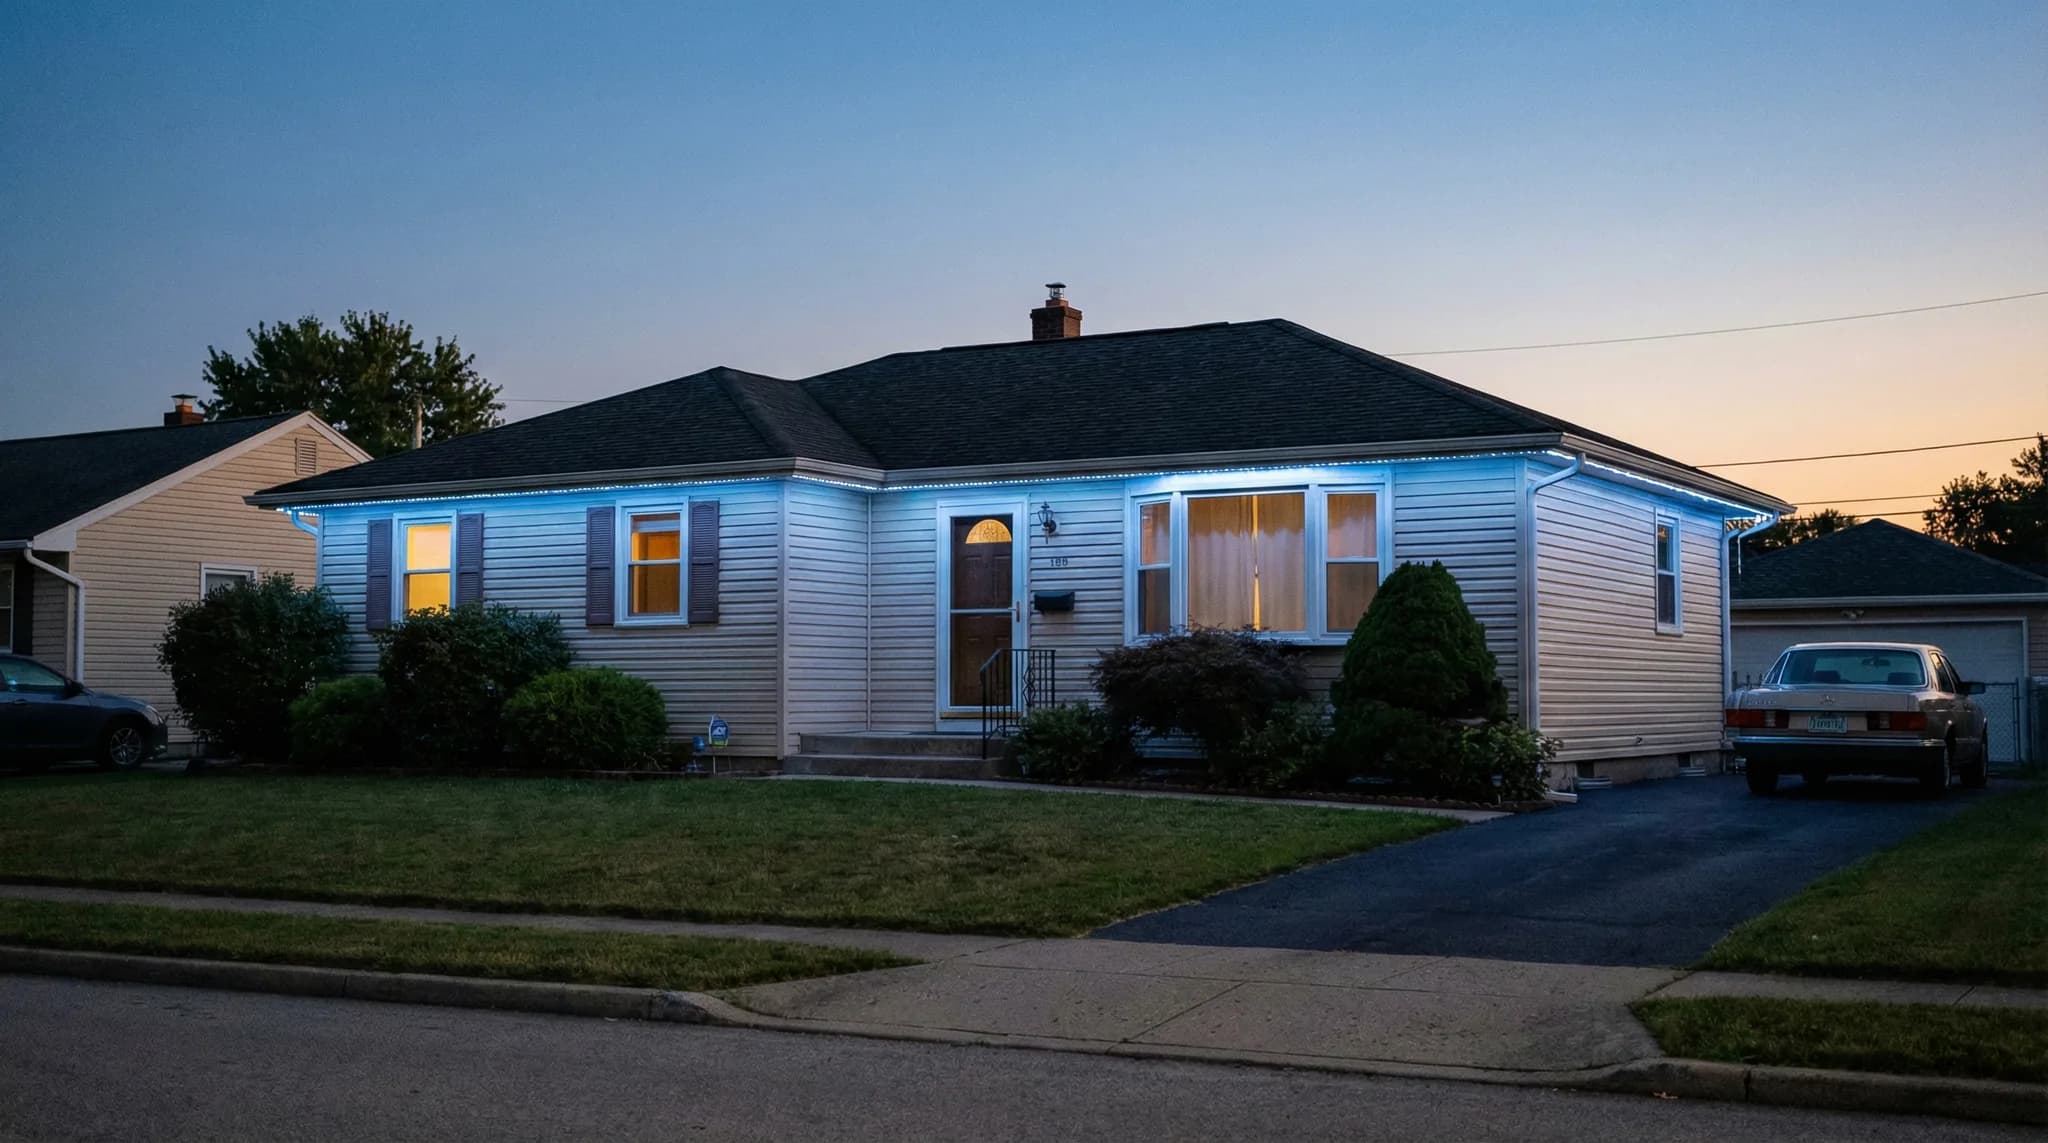
- The finished installation is remarkably low-profile. The channels are typically painted or powder-coated to match your trim color. During the day, from the street, they're virtually invisible. Neighbors and visitors will notice your lights at night, but during the day, most people cannot tell the system is there at all.
Wiring and Electrical
Permanent outdoor lighting systems run on low-voltage LED technology. This is not a high-voltage electrical project. Here's how the electrical side works:
- A transformer/controller unit is mounted near an existing outdoor electrical outlet, usually on the side of the house or in the garage. This is the brain of the system. It converts your standard household power to the low-voltage output the LEDs require.
- Low-voltage wiring runs from the controller up to the light channels. The wiring is routed cleanly along existing trim lines, behind downspouts, or through other concealed pathways. We don't leave wires draped across your siding or dangling from eaves.
- All connections are sealed with professional-grade weatherproof connectors. Sacramento's rainy season from November through March can deliver intense, driving rain, and every junction in your system is built to handle it.
- In the vast majority of installations, no electrical permit is required and no modifications to your home's electrical panel are needed. The system plugs into an existing outdoor outlet. If your home needs an outlet added, we'll discuss that during the consultation and include it in the quote.
How Long Does It Take?
One of the most common questions we get. Here's what to expect based on your home's size and complexity:
| Home Type | Typical Install Time |
|---|---|
| Single-Story Ranch | 3 – 4 hours |
| Two-Story Standard | 4 – 6 hours |
| Large / Complex Home | 6 – 8 hours |
| Commercial Property | 1 – 3 days (depending on scope) |
Most residential installations are completed in a single day. That surprises a lot of homeowners. You go to work in the morning with a bare roofline and come home to a fully installed, fully functional permanent lighting system. The ranch-style homes common in Citrus Heights, Rancho Cordova, and parts of Fair Oaks are often done by early afternoon. Larger two-story homes in Roseville, Folsom, and Rocklin typically wrap up by late afternoon. Even the bigger custom homes in El Dorado Hills and Loomis are usually a single-day job.
For commercial properties, timelines depend on the building size and scope. A small retail storefront might be half a day. A large restaurant, office building, or multi-structure property can take 1 to 3 days. We schedule commercial work to minimize disruption to your business operations.
What About My Roof and Gutters?
This is the concern we hear most often, and it's worth addressing directly. Homeowners worry that mounting a lighting system will damage their roof, void their roof warranty, or interfere with their gutters. Here are the facts:
- No drilling into your roof: The mounting channel attaches to the fascia board (the vertical board behind your gutter) or the soffit (the underside of the roof overhang). We do not drill into roof decking, shingles, tiles, or any part of the waterproof roof membrane.
- Roof warranty remains intact: Because the system does not penetrate the roof surface, it does not affect your roofing warranty. The fascia board is part of the trim, not the roofing system.
- Gutters are not modified: The lighting channel mounts above or behind the gutter line. We don't attach anything to the gutters themselves, drill through them, or impede water flow. Your gutter system continues to function exactly as it did before.
- Clean, damage-free installation: Our crew takes care to protect your home during the install. If a screw hole is ever needed in fascia, it's sealed with exterior-grade sealant. There are no rough edges, no splintered wood, no cosmetic damage.
Step 4 – Setup, Testing, and Walkthrough
Once the physical installation is complete, the crew doesn't just pack up and leave. This next phase is just as important as the mounting itself.
- Controller programming: The transformer/controller is powered on and configured. Each lighting zone is mapped and tested to confirm every section responds correctly.
- App setup: We help you download the lighting control app on your phone and connect it to your system. We set up your Wi-Fi connection and verify that you can control the lights from your device.
- Feature walkthrough: This is the fun part. We walk you through everything the system can do: how to change colors, how to set automated schedules (lights on at sunset, off at midnight), how to save your favorite color scenes, how to activate preset holiday themes, and how to adjust brightness.
- Zone testing: We cycle through each zone individually and then all zones together. You'll see every color, every transition, and every effect. If anything looks off – a section that's slightly dimmer, a color that doesn't match – we address it on the spot.
- Your questions, answered: We stay until you're comfortable. Some homeowners pick it up in five minutes. Others want to spend 20 minutes exploring the app and trying different looks. There's no rush. We want you to feel confident using your new system the moment we leave.
Step 5 – Cleanup and Final Inspection
Before we consider the job done, our crew does a complete cleanup of your property. That means:
- All packaging materials, wire scraps, and installation debris are collected and removed.
- Any landscaping or features that were moved or adjusted during the install are returned to their original position.
- The work area is swept or blown clean. No sawdust on your driveway, no screw casings in your flower beds.
- We do a final walkthrough with you to point out the controller location, show the wire routing, and confirm you're happy with the overall appearance.
We have a simple standard: leave the property cleaner than we found it. Our crews take that seriously. You shouldn't find a single piece of evidence that we were there, other than the beautiful lighting system on your roofline.
After Installation: What to Know
Your system is installed, your app is set up, and your home looks incredible. Here's what life looks like from this point forward.
The App
Your smartphone is now your remote control. Change colors from the couch, set schedules while you're at work, or switch to a holiday theme from the grocery store parking lot. The app stores your saved scenes, so once you create a look you love, it's one tap to activate it any time. Most homeowners set a daily schedule (warm white at sunset, off at midnight) and then manually switch to holiday themes or special colors when the occasion calls for it.
Scheduling
The scheduling feature is one of the most appreciated parts of the system. You can set your lights to turn on and off automatically based on time of day or sunset/sunrise. Once it's programmed, you don't have to think about it again. Your home is lit every night, even when you're on vacation. That consistent, automatic exterior lighting is a genuine security benefit – a dark house tells people nobody is home, while a well-lit house says the opposite.
Warranty Coverage
EXT Lighting backs every installation with a lifetime warranty on parts and labor. That means if an LED module stops working in 3 years, we replace it at no cost. If a wiring connection fails in 10 years, we fix it at no cost. If the controller needs service in 7 years, that's covered too. Parts and labor, for as long as you own the system. No fine print that excludes weather-related wear. No deductibles. No service call fees. Learn more about system longevity in our guide on how long permanent outdoor lights last.
Maintenance
Permanent outdoor lights require virtually zero maintenance. There are no bulbs to replace, no strings to untangle, no ladders to climb. The only thing we recommend is an occasional rinse with a garden hose once or twice a year to clear off accumulated dust and pollen. Living in the Sacramento Valley, you know what spring pollen does to every outdoor surface. A quick rinse in April after pollen season and another before the holidays in October keeps your lights looking their absolute best.
Common Questions About the Installation Process
We hear these questions from nearly every homeowner we work with. Here are straightforward answers.
Do I Need to Be Home During Installation?
Not necessarily. As long as we have access to the exterior of your home and the electrical outlet or garage where the controller will be mounted, you don't need to be present for the installation itself. However, we strongly recommend being home for the final walkthrough and app setup at the end. That usually takes about 15 to 20 minutes and ensures you know how to use every feature of your new system.
Will the Installation Damage My Roof or Gutters?
No. The mounting channel attaches to the fascia board or soffit, not the roof surface. We do not drill into shingles, tiles, or roof decking. Gutters are not modified or drilled. Your roof warranty is unaffected. This is one of the most common concerns we address, and it's the one we can answer most definitively: the installation does not damage your roof.
What if It Rains on Installation Day?
Sacramento's dry summers mean rain is rarely an issue from May through October, which is our busiest season. During the winter months, if rain is in the forecast, we'll proactively reschedule to a dry day. Installing in active rain isn't safe for the crew and doesn't produce the best results for sealing connections. If we need to reschedule, we'll contact you in advance and find the next available dry day. It's never more than a short delay.
Do I Need Any Electrical Work Done First?
In most cases, no. The system plugs into a standard outdoor electrical outlet. The majority of Sacramento homes built in the last 40 years have at least one outdoor outlet that works for our purposes. If your home doesn't have a conveniently located outdoor outlet (common with some older homes in East Sacramento, Land Park, or Curtis Park), we can coordinate having one added. We'll identify this during the consultation so there are no surprises.
Can I Add More Lights Later?
Absolutely. Many homeowners start with the front roofline and add the sides or back of the house later. The system is designed to be expandable. When you're ready to add on, we come back, extend the track, add the additional LED modules, and integrate the new sections into your existing controller. It's a straightforward process.
What Happens if Something Breaks After Installation?
You call us. Our lifetime warranty on parts and labor means we come out and fix it at no charge. Whether it's a section of LEDs that stopped responding, a controller glitch, or a wiring issue, you're covered. No diagnostic fees, no service call charges. We stand behind our work for as long as you own the system. You can also find more warranty details on our FAQ page.
What Sacramento Homeowners Wish They Knew Before Installation
After hundreds of installations across the Sacramento metro area, we hear the same comments over and over. Here's what homeowners consistently tell us they wish they had known going in.
It's Faster Than You Think
Almost every homeowner is surprised by how quickly the installation goes. People expect a multi-day project with scaffolding and disruption. Instead, a crew shows up in the morning, and by afternoon, you have a fully functional permanent lighting system. A family in Roseville told us they left for work expecting to come home to a half-finished project and instead found the crew doing the final cleanup. That's a typical experience.
The Channels Are Truly Invisible During the Day
This is the one that surprises people the most. Homeowners worry that mounting hardware on their roofline will look bulky or obvious. Then the install happens, and they walk to the street, look up, and genuinely cannot see the channels. The slim aluminum profile, color-matched to your trim, disappears into the roofline. Homeowners in El Dorado Hills and Folsom, where curb appeal standards are particularly high, are consistently relieved at how seamless it looks.
The First Night Is Something Special
We're not going to pretend this is some life-changing event. But honestly? The first night you pull into your driveway and see your home glowing with perfectly even, beautiful light along every roofline, it hits differently than you expect. Homeowners tell us they sit in their car for a minute just looking at their house. They call family members to come outside and see it. They take photos and send them to everyone they know. It's a genuinely satisfying moment, and after the research, the decision-making, and the investment, you deserve to enjoy it.
Your Neighbors Will Ask About It
This one is guaranteed. Within the first week, at least one neighbor will knock on your door or stop you in the driveway to ask about your lights. It happens in every neighborhood we serve, from Orangevale to Auburn to Rocklin. In many subdivisions across Roseville and Rancho Cordova, one installation leads to three or four more on the same street within a few months. There's a genuine neighborhood effect that we see repeated across Sacramento, Placer, El Dorado, and Nevada counties.
You'll Use Them More Than You Expected
Most people go into the purchase thinking about Christmas lights. And yes, the holiday season is incredible with permanent LEDs. But what catches homeowners off guard is how much they use the lights the rest of the year. Warm white every night as accent lighting. Sacramento Kings purple and gray during the playoffs. Red, white, and blue for the Fourth of July. Orange and purple for Halloween. School colors for homecoming. Teal for a gender reveal. Pink for a birthday party. Once the lights are there, you find reasons to use them constantly.
Ready to Get Started?
The installation process is straightforward, professional, and far less disruptive than most homeowners expect. From the initial consultation to the moment your lights come on for the first time, the entire experience is designed to be smooth and stress-free.
EXT Lighting serves homeowners and businesses throughout Sacramento, Placer, El Dorado, and Nevada counties, including Roseville, Folsom, El Dorado Hills, Rocklin, Citrus Heights, Rancho Cordova, Fair Oaks, Orangevale, Loomis, Auburn, and Grass Valley. Check our service area page to confirm we cover your neighborhood.
Ready to see what permanent lighting would look like on your home? Request your free consultation today. We'll come out, measure your roofline, walk you through the options, and give you an exact quote with no obligation. Most homeowners tell us their only regret is not doing it sooner.
Want to learn more before reaching out? Explore our residential lighting services, read about what permanent lights cost in Sacramento, or find out whether permanent outdoor lights are worth the investment.